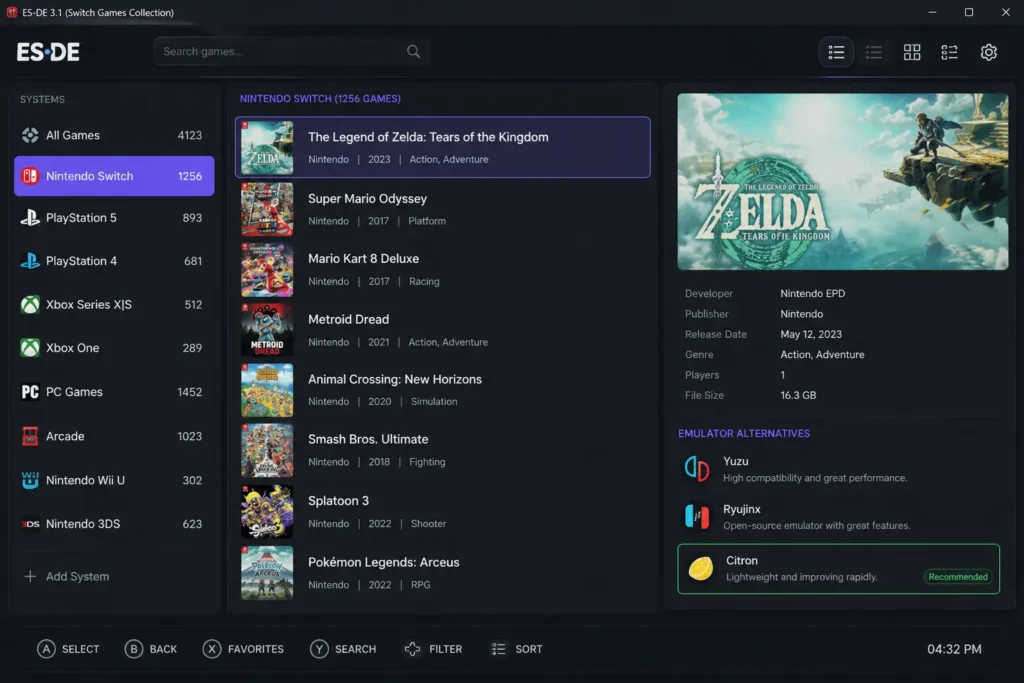
If you’re tired of hunting through folders just to launch a Switch game, this guide is for you. Pairing EmulationStation Desktop Edition (ES:DE) with the Citron emulator gives you a clean, controller-friendly interface, no terminal required after setup.
This guide walks through the full ES:DE setup, from placing the Citron AppImage in the right spot to launching Switch games directly from the front-end. For a smoother gaming experience, consider optimizing your game controller setup to ensure seamless gameplay.
What you need first
Make sure these are already sorted:
- ES:DE installed and opening normally
- Citron AppImage downloaded
- Your Switch game dumps ready and stored somewhere sensible
- Access to your home folder + basic file manager use
If you’re working on a Steam Deck setup, you might also find our Steam Deck Setup Guide helpful for configuring emulators and optimizing performance.
Step 1: Put the Citron AppImage somewhere stable
ES:DE needs a predictable location for the emulator.
Move the AppImage into:
<command label="Citron (Standalone)">

  %INJECT%=%BASENAME%.esprefix %EMULATOR_CITRON% -f -g %ROM%

</command>
Rename it so you don’t have to deal with version numbers later:
<command label="Citron (Standalone)">

  %INJECT%=%BASENAME%.esprefix %EMULATOR_CITRON% -f -g %ROM%

</command>
Make it executable:
<command label="Citron (Standalone)">

  %INJECT%=%BASENAME%.esprefix %EMULATOR_CITRON% -f -g %ROM%

</command>
That’s enough on the Citron side.
Step 2: Point ES:DE toward Citron
ES:DE uses custom system configs to detect and launch emulators.
Go to:
<command label="Citron (Standalone)">

  %INJECT%=%BASENAME%.esprefix %EMULATOR_CITRON% -f -g %ROM%

</command>
If it doesn’t exist, just create it.
Step 3: Edit es_find_rules.xml
This is how ES:DE figures out where Citron lives.
Add something like this:
<command label="Citron (Standalone)">

  %INJECT%=%BASENAME%.esprefix %EMULATOR_CITRON% -f -g %ROM%

</command>
Basically:
If Citron is in PATH → use it
If not → look for the AppImage in Applications
Step 4: Edit es_systems.xml
Now you tell ES:DE how to actually launch games through Citron.
Inside the Switch system section, add:
<command label="Citron (Standalone)">

  %INJECT%=%BASENAME%.esprefix %EMULATOR_CITRON% -f -g %ROM%

</command>
What this ends up doing:
- Opens Citron fullscreen
- Loads the selected game automatically
- Keeps Citron as its own selectable emulator option
Step 5: Test it inside ES:DE
- Open ES:DE
- Go to your Switch games
- Open the menu (Start button or menu icon)
- Then go:
Other Settings → Alternative Emulators → switch - Pick Citron (Standalone)
- Launch a game and see what happens.
If it boots, you’re done.
If something doesn’t work:
- Citron missing from emulator list:
- Check you ran
chmod +x - Make sure the AppImage path is right
- Restart ES:DE after config edits
- Game opens then crashes:
- Check firmware + keys inside Citron
- Try launching the game directly in Citron first
- Black screen at startup:
- Try disabling fullscreen in Citron
- Update GPU drivers / Vulkan
Addressing common emulator errors can help resolve issues like crashes, missing files, or black screens during setup.
Why people bother with this setup
- One interface for everything
- Launch games faster
- Much nicer with a controller
- Feels closer to using a real console
- No terminal once it’s set up